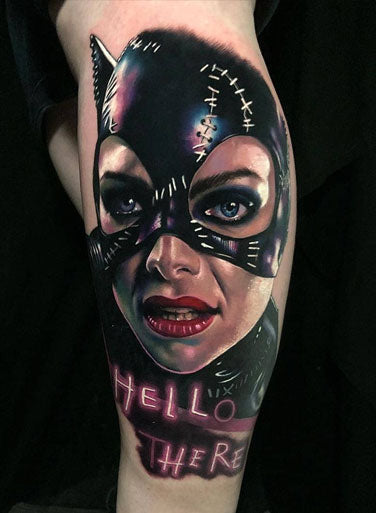
If you are a tattoo artist, you most probably know that tuning your machine enables you to ink the different body parts without any hassle. You also get to detect which components of the machine require fixing or replacement. When a machine is well-adjusted, it could create smoother outlines for a design and prevent unwanted curves and swerves.
Tuning Steps
Know About the Important Components of the Tattoo Machine
According to the experts providing tattoo equipment in Australia, whether you have a rotary machine or a coil, in order to tune, you must be aware of the below-mentioned important components.
- The coils and the capacitors together power a tattoo machine. The speed as well as strength depends heavily on the overall quality of the coils. When excessive wire layers encompass a coil, the machine tends to perform slowly and utilise more power. On the contrary, when there are fewer wire layers, the machine runs fast and has power.
- The front spring converts the coils into an electromagnet and act as the shock absorber. The back spring contributes to the tension, produces movement, and balances the machine so that it can create safe and consistent strokes.
- The armature bar controls the speed of the machine. Larger armature bars lets you perform with more force but reduces the speed. By aligning the bars properly, you will be able to create the best possible designs.
- The contact screw lets the electromagnetic currents to run throughout the machine. When used constantly, it keeps the flow of performance consistent. The type of machine also has a role to play.
Find Out the Gap
Prior to reconfiguring the tattoo machine, you must find out the gaps between the contact screw and front spring. The armature bar is supposed to fill this area, so, press it down for revealing the gap. If the gap is more than the width of a coin, you must continue adjusting.
Regulate the Contact Screw
The experts providing top-notch tattoo equipment in Australia said after finding out the gap, you must loosen the thumb screw to regulate the contact screw. When you are switching from liner to shader or vice versa, please tighten the screw to gain the desirable width.
Attach the Coils
Before testing the productivity of a tattoo machine, you must ensure that you have secured the attached coils properly. You would need stable current for optimal operation, right? The coils must be capable of fitting inside an armature bar.
Power the Machine
Usually, a tattoo machine must use approximately 7.5 to 8.5 volts and produce incredible line work. When performing shading, the machine will use almost 8 to 10 volts. The artists use the recommended settings for keeping the practice convenient and safe for themselves as well as the clientele.
Even with a substantial amount of experience, you may face problems when working with machine that requires tuning. But considering the aforementioned tips is sure to help. Studies have shown that the artists who excel in these protocols know how exactly to adapt to all situations.


 CustomIronsTattooSupplies